
Thinkercad is the best and easiest development tool for anyone to learn 3D modeling, Electronic Circuits, and Block-based coding. This is an online platform that provides flexibility to learn 3D modeling, Coding, and making electronic circuits easily.
Tinkercad – Trusted by Millions around the world!
If you are a beginner-level user, you might have heard about the old myth of learning CAD (Computer Aided Design) that it’s been frustrating at times, and mastering them requires a serious time commitment. And whoever wanted to use these CAD applications to create 3D objects had to spend a lot of time and deal with a lot of frustrations. Besides that, they need to pay a substantial fee to get the software.
That is true! that I know a lot of people who complain that learning to use CAD applications is difficult. Even though I tried a few of the CAD software which were really hard and time-taking, somehow I managed.
But don’t worry, those old days are gone!
Today, things have changed and a few CAD applications are designed user-friendly and tailored to beginners that are less intimidating than their big-brother counterparts. They require very less time to master and in some cases you don’t even need to spend money for them as they are free to use. One of those CAD applications is called Tinkercad.
So, the Tinkercad is an online development tool for 3D design and modeling, It also has a development tool for electronic circuits and microcontroller-based coding platforms. The development environment is easier to use than similar tools used by professionals. It’s intuitive for students.
You can create a circuit with an Arduino board or Microbit with sensors and actuators, and also simulate it to check wheater it’s working or not. All these are possible in this Tinkercad. You will find it easier to work on Tinkercad as compared to all of its big-brother counterparts around the world. And more importantly, this tool has eliminated the old-day phobia about CAD (Computer Aided Design).
Tinkercad, is it free to use?
Tinkercad is a free, easy-to-use app for 3D design, electronics, and coding. You just need a web browser and internet access. It is a free web-based development environment where you can do the followings:
- Design 3D Models
- Use drag and drop coding blocks to make your 3D objects.
- Make basic electronic circuits with drag and drop components and wiring features.
- Make and simulate advanced level circuits with sensors
- Create microcontroller-based projects with coding (text + block coding) and simulate
Tinkercad, is it difficult to learn?
Absolutely Not!
Tinkercad is one of the easiest tools to learn 3D design, circuit making, and coding. If you are a beginner, Tinkercad is where your learning begins. I have been using this tool for STEM activities in the primary sections. Students find it easier than anything in this world to shape their ideas into 3D models.
Is Tinkercad good for beginners?
Tinkercad is probably the easiest tool for beginners to learn as it has got a lot of features:
- Web-based application
- No need to install
- Free to use, No need to pay anything!
- User-friendly!
Read “How to use Tinkercad?” It will help to make your first 3D model absolutely free!
How can I make a 3D model free?
Read “How to use Tinkercad?” It will help to make your first 3D model absolutely free!
Can I print from Tinkercad?
Yes, It is easy to print the 3D model you design using Tinkercad.
There are a couple of ways available to print a 3D object.
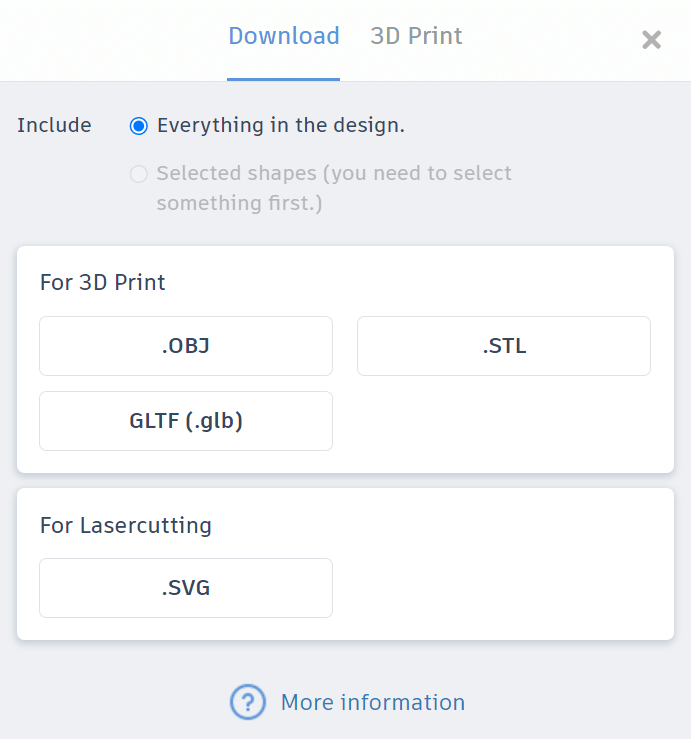
- If you have your own 3D printer, just download your design as an STL file type. Remember that the STL is the standard file format for most 3D printers. Once the STL file is downloaded to your computer, import that STL file into your printer slicing application. This application will create the Gcode for the printer to understand and print the 3D model.
- You can download it from the dashboard itself by clicking the Model Thumbnail,
- Or you do it from within the editor. Click the Export button and select the file type as an STL.

- Click on the STL tab and it will be downloaded to your computer.
- If you don’t own a printer, then search for a 3D printing service in the local marketplace.
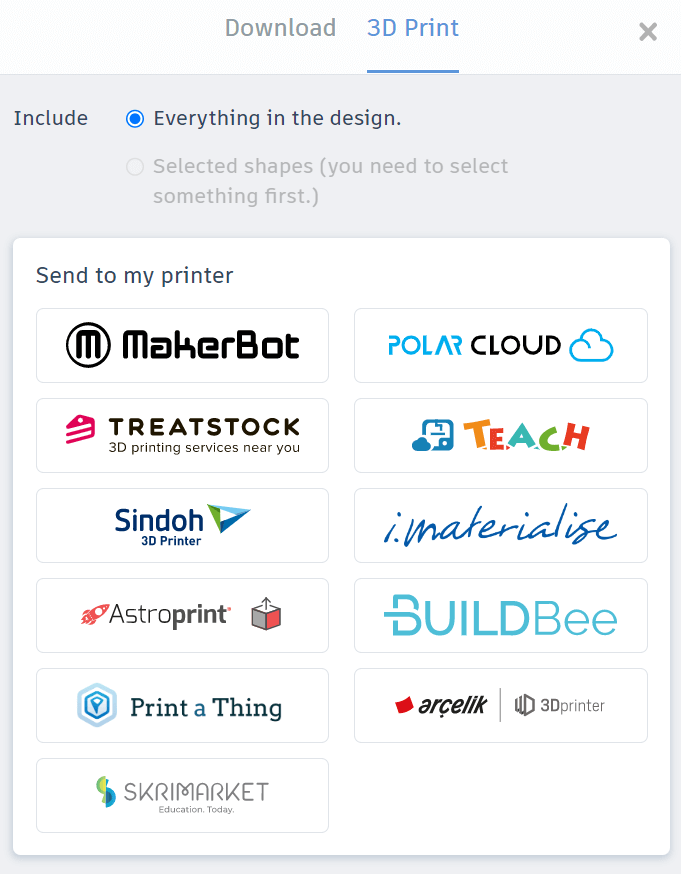
- There are 3D printing partners associated with the Tinkercad itself, and you can order a print from within the 3D editor.
- To check this option, go to “EXPORT”, and then you will find the options, where by default the Download tab is selected.
- Select the 3D Print Tab and the print partner’s list will be displayed like this.

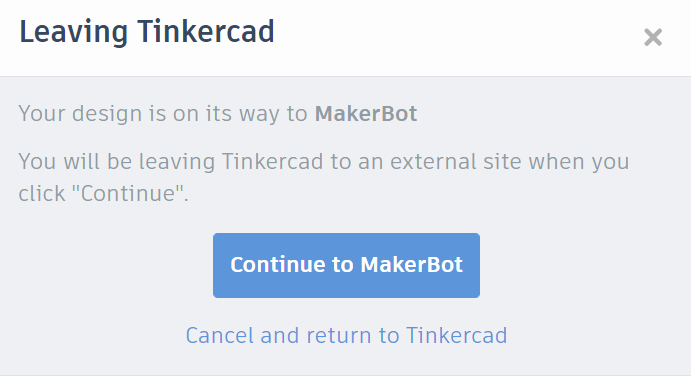
- I have selected MakerBot to print my design and the next screen appears like this.

- The screen will guide you accordingly when you click the continue to MakerBot tab.
- You can also set the print setting on the Print Partner’s website for your Tinkercad design.
- To check this option, go to “EXPORT”, and then you will find the options, where by default the Download tab is selected.
Conclusion:
You have successfully completed the lesson ” Tinkercad – Best Tool for 3D design, Circuit and Simulation “. The lesson covers the overview of Tinkercad. If you have any doubt check the upcoming lessons.
If you want to learn more, write the topic or question in the comment box, I will try to bring a new lesson if required.
Feel free to subscribe to the email list to get more on this topic. And also subscribe to the STEM Guide YouTube channel for video tutorials.
Next Topic