
Tinkercad for Arduino
Tinkercad for Arduino is the online platform that provides 100 percent flexibility to create your Arduino projects, write codes and test the project with the inbuilt simulator. This is a nice platform for beginners to start with basic circuit making, testing your circuit, and even writing the code block.
In this article, you will learn about How to use Tinkercad for Arduino projects. The Tinkercad gives you the freedom to learn and master Arduino by creating circuits and writing code inside the Tinkercad development tool.
- Tinkercad Sign Up Process
- Account Types in Tinkercad
- Tinkercad Dashboard
- Creating your first Arduino Circuit
How to open Tinkercad Website
Open your web browser and type tinkerked.com and press enter. This page will open.

How to Sign Up on Tinkercad
Tinkercad platform is free to use and create your own 3D design, make electronic circuits and also create a code-based 3D design. But you need to have an account on Tinkercad to access it. If you already have an account on Tinkercad, just click the login button as given in the above image, and enter the User ID and password.
But if you are new to this platform then you need to create an account for yourself. To create the account follow the steps.
Click the Sign-Up tab on the top right corner of the screen as you need to have an account on Tiknercad to access it.
Account Types in Tinkercad
It’s worth mentioning that Tinkercad provides three different types of accounts for teachers, students, and personal use.
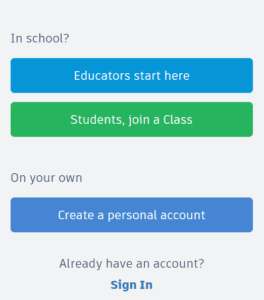
Once you click the Sign-Up button, this page will appear and you have chosen the right option. There are three types of accounts available:
- For Education to Teach: This type of account is basically needed for teachers or educators, who teach online or offline mode. As a teacher, you can create your lesson plan on a particular topic, and also you can assign a task to individual students or a group of students. When your student completes the assignment you can check the progress of your students.
- For Students to join a Class: This type of account is recommended for students who take part in a class may be during school hours or after school classes. To join such a class you need to be invited by the teacher or you be provided with a special link from your teacher. Most of cases, the teacher creates an account for students and provide the access to them. As a student, if you create this type of account you need to approve by a teacher.
- Personal Account for Individuals: This is the freedom type of account that you can access by yourself without seeking approval from anyone. You can work independently with this account type and also can attend any class by simply getting invited by the teacher.
If you are a self-learner, create a personal account, and you can create an account with your emails like Google or Apple ID.
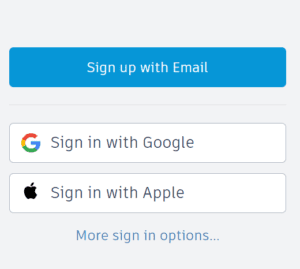
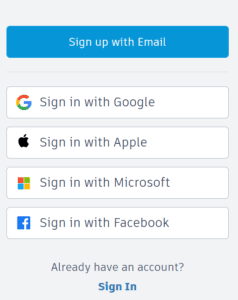
There are a ‘More sign-in options” tab available, you can check this option. But it’s better to use your Google or Apple account. Tinkercad provides four options to signup with your existing accounts like Google, Apple, Microsoft, and Facebook. If you have any one of the following accounts, you can easily go through the signup process.
How to Sign Up for Tinkercad with Google account?
Here I am using my Google account to show you how it proceeds. When you click the tab “Sign in with Google” you will get the option to ” Choose an account to continue with Autodesk Inc” and the account (s) will be displayed below. check this screen shoot.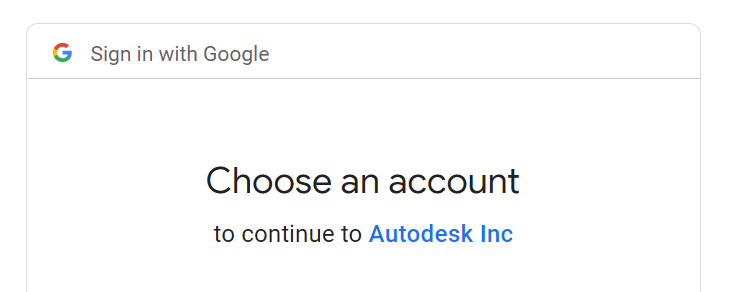
Select the account you want to use to access the Tinkercad, there will be a continue button by which you accept the Term and Privacy Statement as given below.
Click the continue Button

Congratulations !!
Tinkercad Dashboard
Till now, You have created the account to access Tinkercad.
Now, it’s time to explore the Tinkercad Dashboard!!
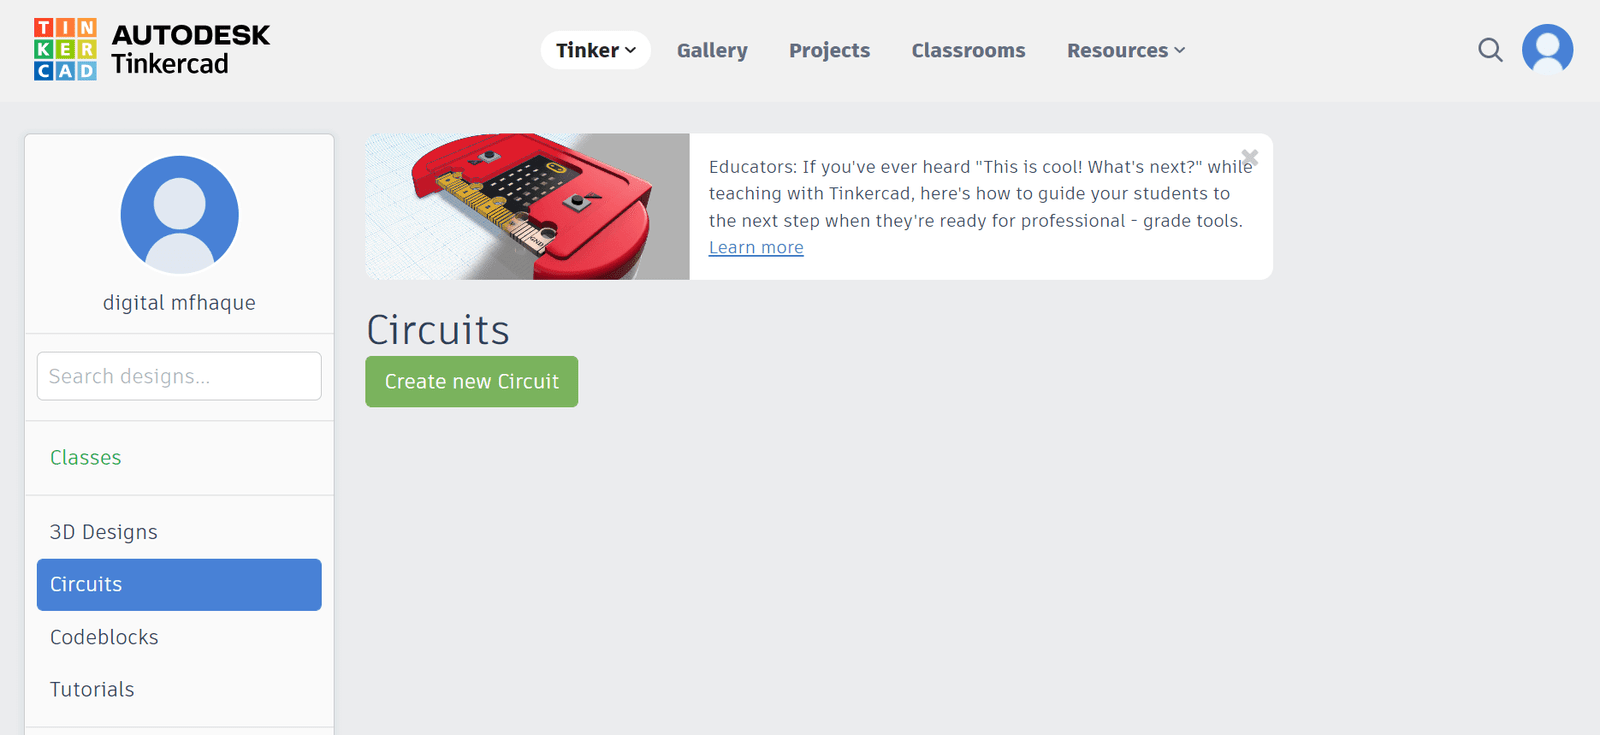
Yes, you are inside the dashboard, on the left-hand side under your profile picture, there is a list given:
- Classes: As an individual user you can use this option to join any classes. But for this, you need to get the link from a teacher to access the classes or get an invitation from the teacher to join.
- Circuits: Clicking this option will take you to the “Create New Circuit” Page
- Codeblocks: This will take you to the “Create New Codeblock” page
As this article is focused on “How to use Tinkercad for Arduino?”
I will go to the Circuits page to show you how to create the first Arduino Circuit in Tinkercad. This page shows the Create New Circuit tab, see the image below.
When you click the Create New Circuit button, you will see the page that appears below. This page looks blank now, and there are a few things to be noticed here:
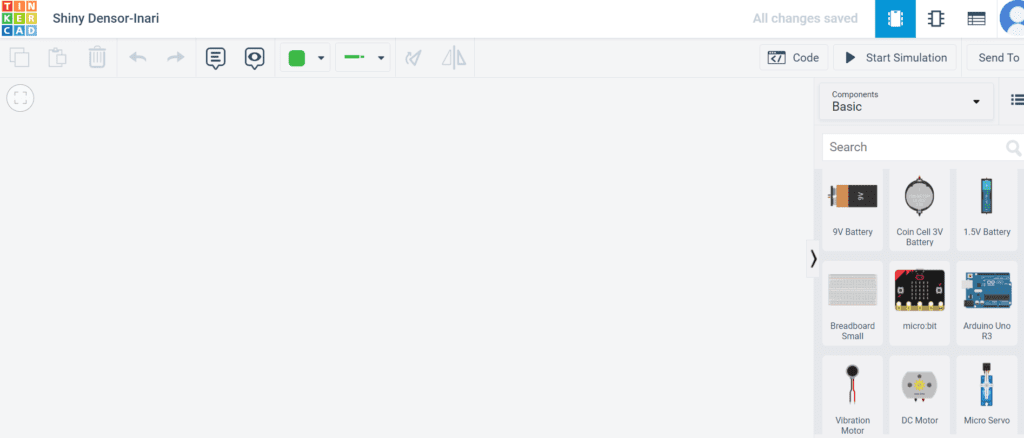
This page has a lot of important tools to make things easier for you. I have mentioned the tools with a number near the buttons with a description for your reference. See the tool name, function, and how to use it with Shortcut keys.
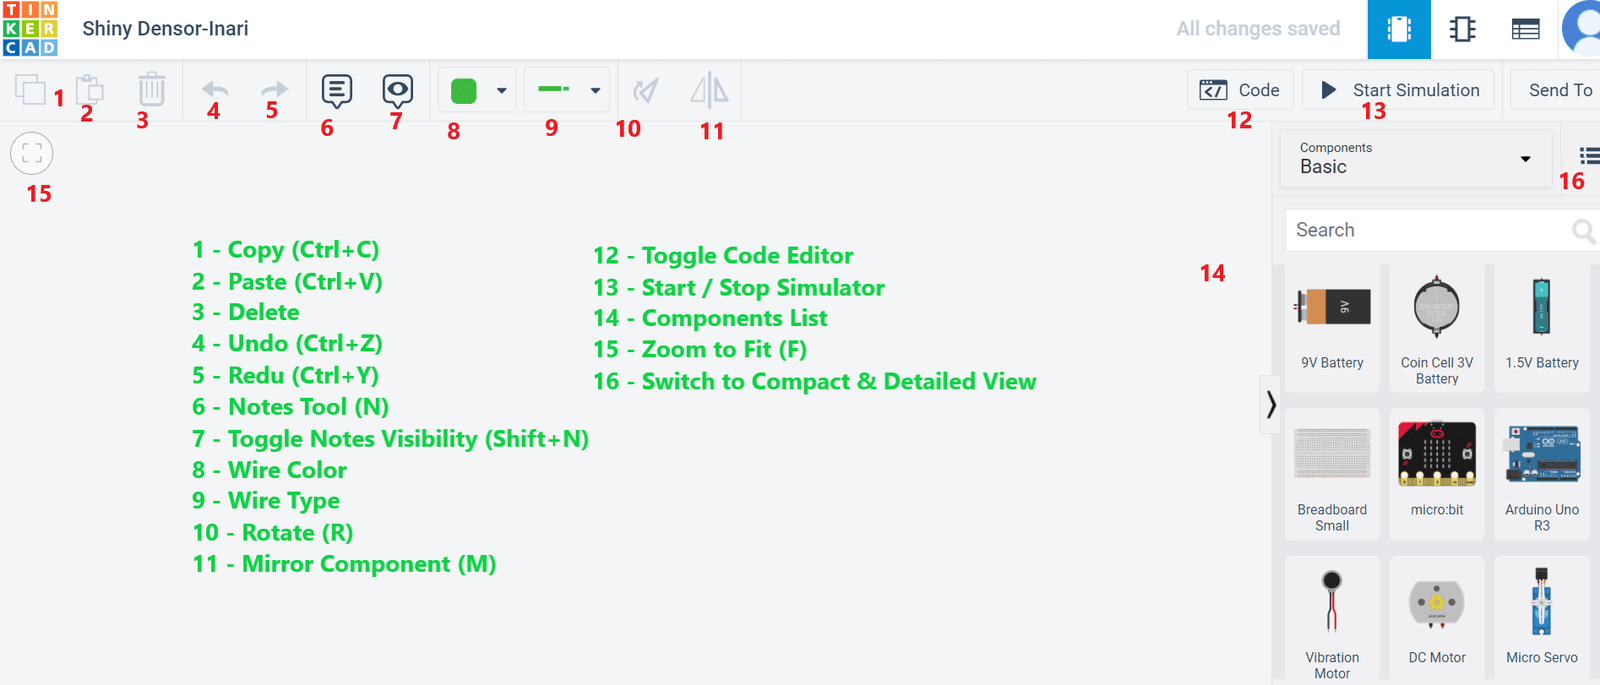
Tools in Tinkercad
- Copy (Ctrl+C): First you select any component and then the copy tool will be active. You can click the tool after selecting the item you want to copy or simply use the shortcut key.
- Paste (Ctrl+V): First you copy the component and then the Paste tool will be active. You can click the tool after copying the item you want to paste or simply use the shortcut key.
- Delete: Select a component and click on the Delete Tool or simply press the DELETE button from the keyboard.
- Undo (Ctrl+Z)
- Redu (Ctrl+Y)
- Notes tools (N): This tool is useful for writing any special note about any circuit or component for reference.
- Toggle Notes Visibility (Shift+N): Used to hide and show the notes.
- Wire Color: Use to change the wire color.
- Wire Type: Change wire type.
- Rotate: Use to rotate any component.
- Mirror Components (M): Use to reverse any component
- Toggle Code Editor: Use to open the code editor window.
- Start / Stop Simulation: Use to simulate your circuit or project.
- Component list: This tray will give you all the components to make your circuit.
- Zoom to Fit (F): Zoom to Fit your circuit.
- Compact / Detailed View: Switch the component list to the compact or detailed view.
Elements in Tinkercad Component List
Thinkercad components list is very comprehensive to design any circuit as there is almost every component available for you to make your circuit from basic to advanced level. All the components are divided into four main categories.
- Basic: In this category, you find the predesign circuits that are useful for beginners to explore the design and the basic components required to make a particular circuit. You can simply drag the circuit from the basic category to the work area and press the simulate button and the circuit will start working. The basic category includes the following circuits.
- LED Light Up Circuit
- LED Dimmer Circuit
- LED Switch
- Multiple LEDs
- RGB LEDs
- DC Motor
- Temperature Sensor
- Tilt Sensor
- PIR Sensor
- Arduino: In this category, you will find all the example projects that are very helpful for beginners to explore and learn. You simply drag the circuits from the Tray and use the start simulate button to see the working model. In this category, you find the following pre-build circuits available.
- Breadboard Connection with Arduino
- Arduino Blink Circuit
- Arduino Fade LED
- Arduino Button Circuit
- Arduino Debounce
- Arduino State Change Detection Circuit
- Arduino Analog Input Circuit
- Arduino Read Serial
- Analog Read Serial
- Servo Motor Circuit
- Tone Keyboard
- Tone Melody
- Tone Multiple
- Tone Pitch Follower
- Ultrasonic Range Finder
- Neopixel
- 2 wire LCD
- Analog In, Serial Out
- Calibration
- Smoothing
- Read Analog Voltage
- Blink Without Delay
- Input Serial Pull Up
- Moisture Sensor
- Voltage Meter
- Micro: bit
- Microbit Breadboard Connection
- Microbit Alarm Project with PIR sensor
- Microbit Analog Read project
- Microbit Compass Project
- Microbit Gesture Control Project
- Microbit Light Control Project
- Microbit Soil Moisturiser Sensor Project
- Microbit Radio Transmitter and Receiver Project
- Microbit Servo Motor Project
- Microbit Breakout
- Circuit Assemblies.
- Glow Circuit Assembly
- Move Circuit Assembly
- Spin DC Motor Circuit Assembly
Conclusion
In this article, we have discussed the Sign Up process, Sign Up with your Google, Apple, Microsoft, and Facebook accounts. We have also discussed the Tinkercad dashboard, tools, and pre-built circuits and projects available inside the Tinkercad environment.
The next article is coming with ” How to Create your First Arduino Project in Tinkercad?” Do not forget to check this post.
For Video tutorials, please subscribe to the STEM Guide YouTube channel.

