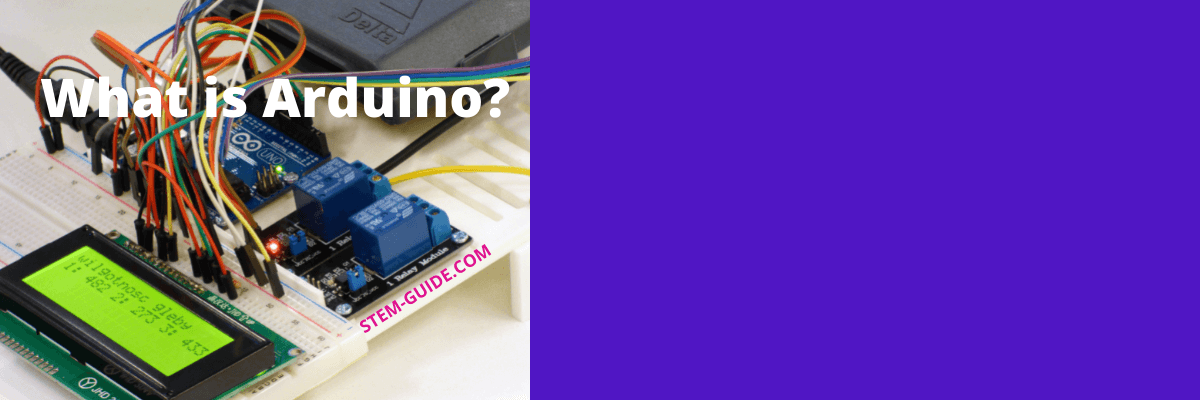
When you want to create Sketch (Arduino Code) and save it in Arduino IDE, you can do that using both online and offline mode. Earlier it was only the Arduino IDE that need to install on your computer but now the online editor is available. You can use your browser to create an Arduino Sketch and compile it and also upload the code on your Arduino board.
In this article, I am going to create a sketch using an online editor and an offline editor.
To open an online editor, I will go to my web browser and type the URL https://www.arduino.cc/en/software in the address bar.

You can see the Arduino Web Editor on the image given above and click on the code online button  and you will be sent to the page for login.

How to sign in to Arduino web editor?
You can sign in to Arduino web editor using
- An existing user id and password
- Using your Google Account
- Facebook Account.
If you are new to Arduino Web Editor then you need to create an account for yourself. There are different options available:
Create One:
To create an Arduino account click the Create One Button.

The next screen will show you the Sign up to the Arduino page. You need to enter your date of birth to continue and ensure the data is correct: it will determine the type of account created for you.

To help you understand the process, I am creating a dummy account for the demo and entered the date of birth which you can see in the below image.

Press the next button and you will be sent to the page given below where you have to provide the following details.
- Enter you Email
- Choose a user name
- Choose a password (Password needs to be a minimum of 8 characters long)
There are four checkboxes given where the first one is mandatory and the three are optional. The first one has the privacy policy and terms of services that are mandatory. The second one is optional and if you want to receive the Arduino Newsletter then check this box. The third option is for receiving personalized commercial offers from Arduino based on your browsing and purchasing behavior. The fourth option is for receiving a promotion and commercial emails regarding special deals and commercial offers.
Here is the demo of the filled-up form, where I have entered dummy information for you to show. I have selected all the checkboxes, but after I selected the last option for receiving the email updates about special deals and commercial offers. It showed me another four chek boxes to select.
- Everything
- Maker
- Education
- Professional

Now, check your email for a verification code and click the confirm button. Check the image below.

You will be redirected to the dashboard of the Arduino web editor.

Now click on the New Sketch to start editing your code.
Type the following code in the editor window:
Arduino Sketch Blink Sketch
const int ledPin = 13; // LED connected to digital pin 13
void setup()
{
pinMode(ledPin, OUTPUT);
}
void loop()
{
digitalWrite(ledPin, HIGH); // set the LED on
delay(2000); // wait for two seconds
digitalWrite(ledPin, LOW); // set the LED off
delay(2000); // wait for two seconds
}

To save the code you need to select the Arduino Board from the drop-down list given above the script editor and then click the checkmark [ √ Verify and Save] button. The web editor will display the below message.
![]()
You can use Arduino IDE in Windows and Mac


